When a prototype fits, functions, and passes review, you’d think it would be smooth sailing to production. Then the first production tool comes back with an issue in some form, and suddenly a program you thought was practically finished is three months behind.
The gap between a prototype and a production part catches even experienced engineers off-guard. It isn’t a quality problem. Prototypes and production parts are made different ways, from different materials, for different reasons, and it’s important to be familiar with the differences. Here’s an explanation of the gap, and how to plan for it to keep things moving smoothly.
What Is a Prototype Part?
A prototype part exists to answer questions about the design. Does it fit the assembly? Does the geometry clear the surrounding components? Can someone hold it, mount it, and confirm the concept works before money goes into tooling?
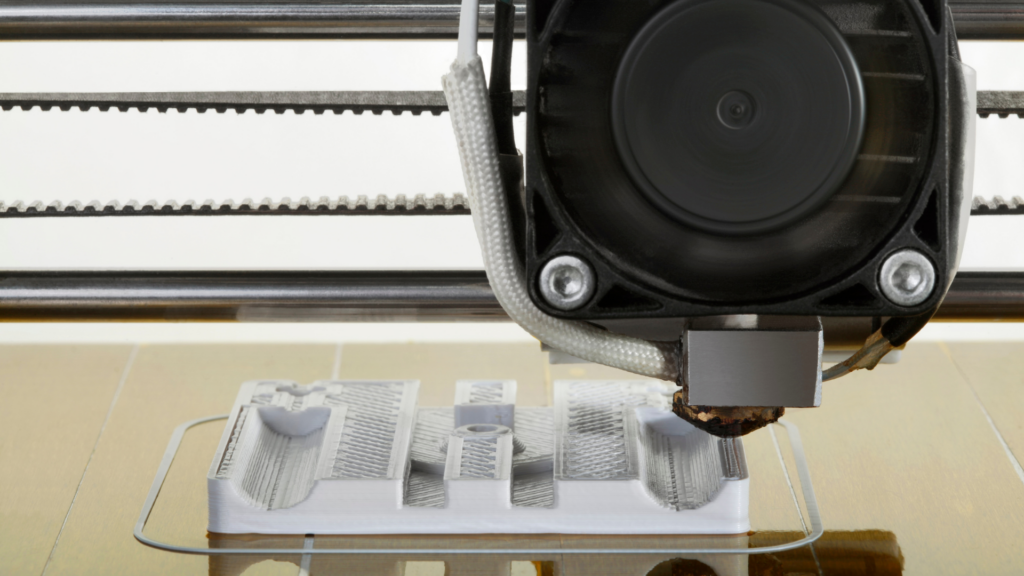
Prototypes are usually built with fast, low-commitment methods:
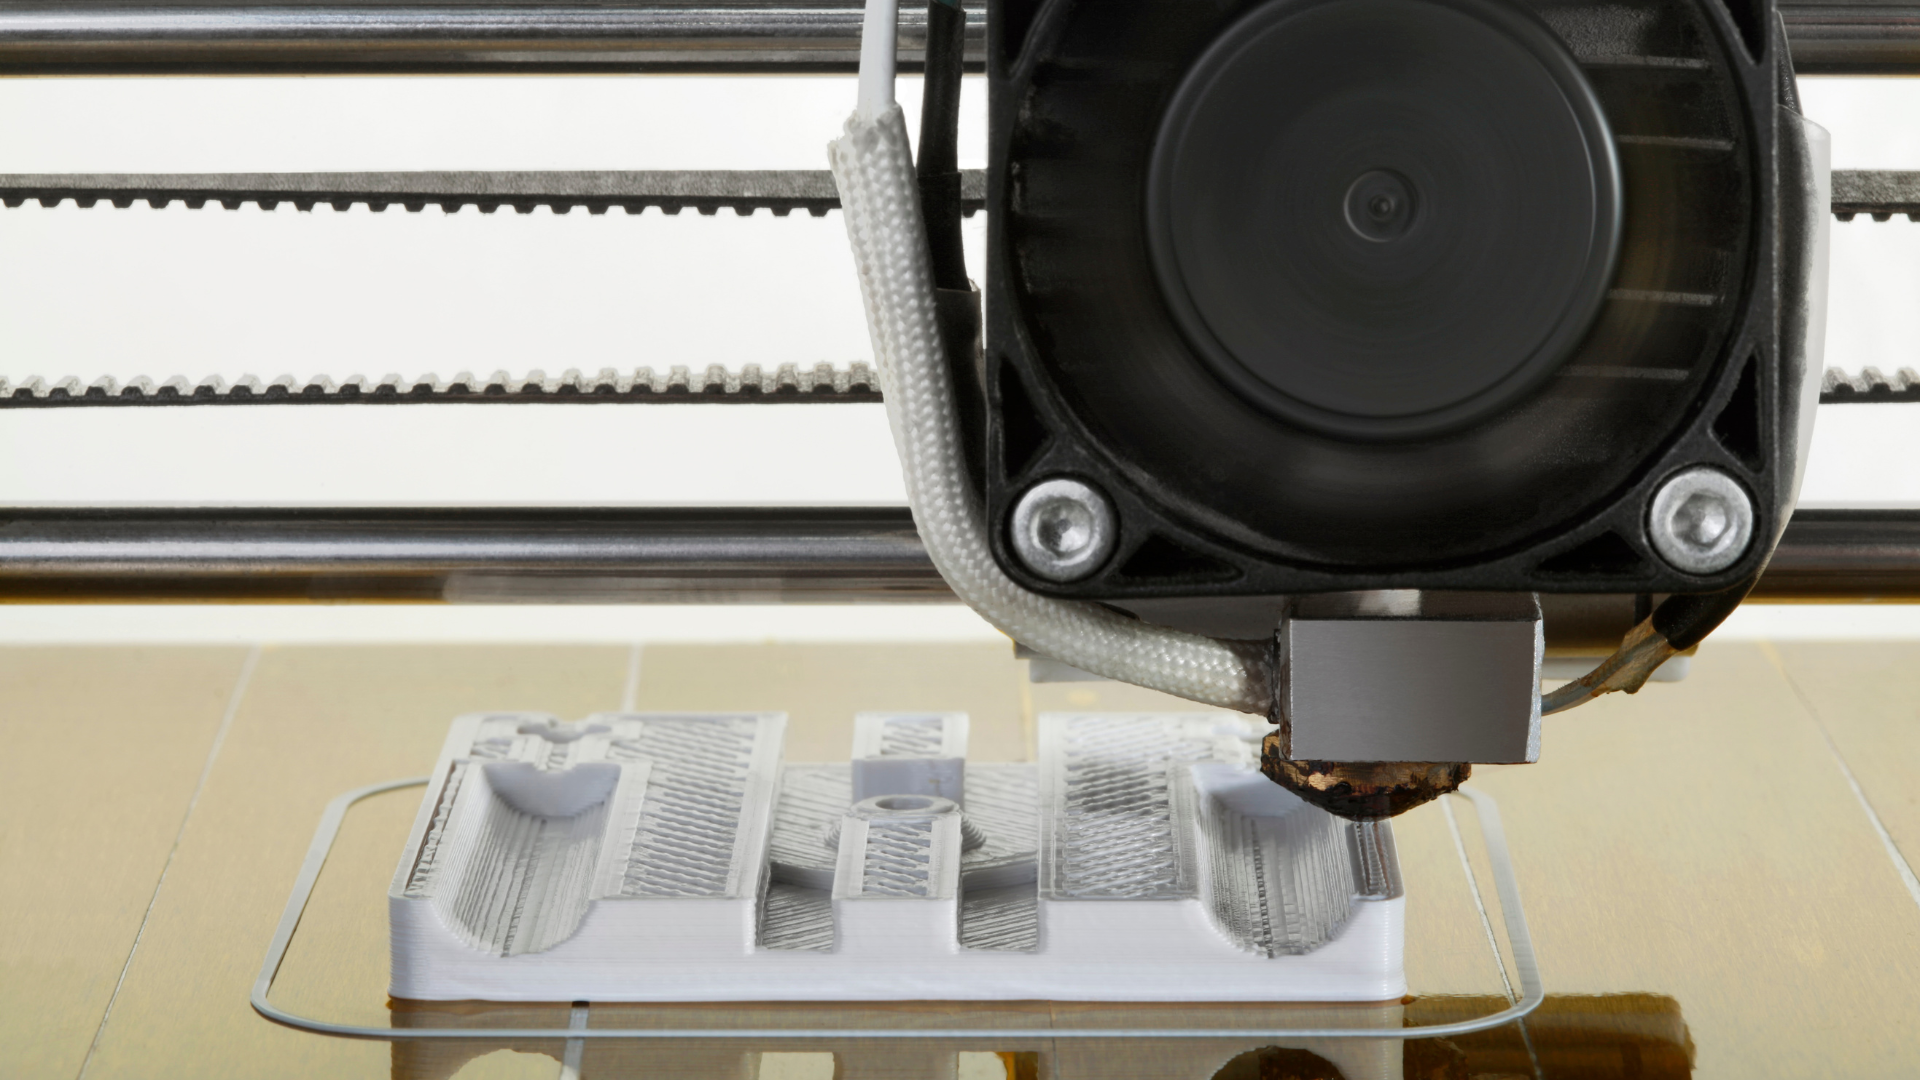
- 3D printing for quick form and fit checks, often in a resin that only approximates the end material
- CNC machining from solid stock when tighter dimensional accuracy is needed
- Soft or aluminum tooling for parts that need to be molded in the real resin, at low volumes
- Urethane casting for small batches that need production-like surface finish
The tradeoff is speed for accuracy. A printed part can be in your hands in two days, but it was built layer by layer, not injected under pressure into a steel cavity. Its material properties, internal stresses, and surface characteristics are not the same as the molded production version.
What Is a Production Part?
A production part is the result of the full production process, the part that is sold to consumers. For example, in injection molding, that means a hardened steel tool, the specified thermoplastic, and a validated set of process parameters covering fill, pack, cooling, and cycle time.
That’s the difference you want to note. While a prototype proves the design concept, a production part proves the process for that design can be easily repeated across thousands of shots, resin lots, shifts, and operators and still produce a functional and quality product. The end result should hold up in documentation like dimensional reports, capability studies, PPAP submissions for automotive programs, and traceable material certifications.
Prototype vs Production Part: Key Differences
| Prototype Part | Production Part | |
|---|---|---|
| Purpose | Validate design intent, fit, and function | Deliver repeatable parts at volume |
| Method | 3D printing, CNC, soft tooling | Injection molding in hardened steel tooling |
| Material | Substitute or approximate resin | Specified production thermoplastic |
| Tooling cost | Low to none | Significant capital investment |
| Lead time per part | Days | Seconds, after tooling is built |
| Tolerances | Looser, method-dependent | Tight and statistically controlled |
| Volume | 1 to a few dozen | Thousands to millions |
| Change cost | Cheap, edit the CAD file | Expensive, cut steel or build new |
Note the last row. Change cost is what impacts timelines most. Changing a prototype costs an afternoon, but changing a production tool costs weeks. This is why the validation step between them matters so much.
Why Would a Good Prototype Fail in Production?
Three things change when a part moves from prototype to molded production, and each one has caused programs to lose months.
Material Behavior Is Not the Same
Molded thermoplastics shrink as they cool, and they don’t shrink evenly. A glass-filled nylon shrinks differently along the flow direction than across it, so a part that measured perfectly as a machined block can pull out of tolerance once it’s molded.
Filled resins also behave differently under load than the unfilled substitutes often used for prototyping. Stiffness, impact resistance, and creep can all shift enough to matter in a structural application.
The Tool Imposes Its Own Requirements
A prototype doesn’t care how it gets out of a mold. A production part does.
Molding introduces design constraints that machining and printing simply don’t have:
- Draft angles so the part releases from the cavity without drag marks
- Uniform wall thickness to prevent sink marks and internal voids
- Gate location, which controls how resin fills the cavity and where knit lines land
- Ejector pin placement, which leaves witness marks somewhere on the part
- Parting line position, which affects both appearance and dimensional control
Each of these can force a geometry change. Finding out after the steel is cut is where you see that change cost increase.
Process Variation Only Shows Up at Volume
Ten parts can all look good. The two-thousandth part is where you learn whether the process is reliable. Resin lot variation, machine temperature drift, ambient humidity, and regrind percentage all introduce shifts that a handful of prototypes will never reveal.
This is the difference between a part that works and a process that works, and it’s the reason mold testing and validation matter so much before a program goes live.
What Bridges the Gap Between Prototype and Production?
Two steps sit between a proven prototype and confident full-rate production. Skipping either one is where most tooling surprises come from.
Mold Tryout and T1 Samples
A mold tryout is the first time your tool runs in a real press under real conditions. The T1 samples that come off it are your first honest look at how the design, the tool, and the resin behave together.
A proper tryout reveals information you can’t get from a prototype, like:
- Does the cavity fill completely, and where does the resin knit?
- Are dimensions holding across all cavities, or is cavitation inconsistent?
- What cycle time can the tool actually support without sacrificing quality?
- Where does the part warp, sink, or flash, and what process window fixes it?
- Does the tool need steel changes, and if so, which ones and where?
Think of this as a trial to identify issues while corrections are still inexpensive. Steel-safe changes made after T1 cost a fraction of what a rebuilt tool costs after a failed launch.
Short-Run and Bridge Production
Once the tool is validated, short-run molding covers the period before full production is up. It’s useful for more than just filling a gap:
- Building parts for durability, environmental, and regulatory testing in the real material
- Supplying pilot builds and customer trial assemblies
- Bridging supply while a high-cavitation production tool is being built
- Testing a new molder on low volume before committing a full program
Short runs also give you a second look at process stability before you’re locked into a schedule that leaves no room to fix anything.
When Should You Move From Prototype to Production Tooling?
Cutting production steel too early is a common and expensive mistake. Most programs are ready when they can answer yes to all of the following:
- The design has passed fit and function testing in the assembly it will actually live in
- The end-use resin is selected and confirmed, not still under evaluation
- The part has been reviewed for moldability, including draft, wall thickness, and gate strategy
- Expected annual volume is stable enough to size cavitation and machine tonnage correctly
- Critical dimensions and tolerances are defined, with the truly critical ones flagged
- The tolerance stack-up in the assembly has been checked against realistic molded capability
If any of these is still open, a mold tryout or a short-run bridge is almost always cheaper than the tooling revision you’d otherwise be paying for later.
What to Ask a Molder Before You Commit
The right questions early save the most time:
- Will you review my design for moldability before we cut steel?
- What tonnage range do you have available, and can the part run on more than one press?
- How do you document tryout results, and what will I receive after T1?
- Can you support a short bridge run if my production tool is delayed?
- How do you handle confidentiality on pre-production designs?
Move Smoothly From Prototype to Production with Plastic Molding Development
Plastic Molding Development has supported automotive and aerospace programs from Sterling Heights, Michigan since 1985. The space between a working prototype and a validated production part is exactly what we’re built for.
We run injection molding machines from 170 to 3,300 tons with robotic integration, so parts of nearly any size can be validated on equipment matched to the job. Our mold tryout work gives engineers documented T1 results and a clear correction list before production tooling is finalized. Our short-run capability covers pilot builds, testing quantities, and bridge production while a full-rate tool is completed. And every pre-production design that comes through our doors is treated as confidential, because protecting proprietary work is part of what a domestic development partner is for.
If it doesn’t run right the first time, we’ll make it work.
Contact Us
If you have a prototype ready to prove out in real tooling, or a production launch that needs a tryout before it commits, we should talk. Open press time is available now.
Call us at (586) 739-4500 or contact us to start the conversation.